Jan
22
2014
Bastian Asmus


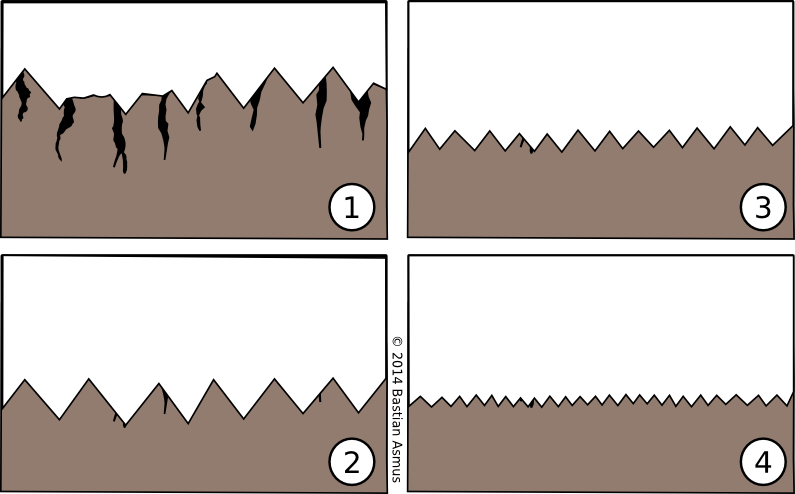
Highly magnified schematic view of a cross section through a sample during the grinding process. Grinding serves two purposes, first to remove micro-shattering caused by cutting (1 and 2), second to prepare the surface for polishing (3 and 4). With consecutive smaller grits you have to remove the scratches left by the previous grit.
Hello to part four of the slag microscopy series. After mounting, it is about time to start sample grinding to prepare the section for polishing.
For this we need:
- a sample polisher/grinder
- abrasive discs
- optional: stereo-microscope to inspect grinding progress
- optional: a marking gauge
Polished section needs to flat. Bottom and top surfaces of the section have to be plane-parallel. A good polish is only achievable if the surface has undergone adequate preparation. This is done by grinding on a horizontal water lubricated abrasive disc. Flatness is usually achieved with abrasives bonded on paper, in synthetic materials or in metal. Continue reading
1 comment | tags: How to | posted in Archaeometallurgy, Lab work, Microscopy, reflected light microscopy, slag
Jan
17
2014
Bastian Asmus


This is part three of the series on slag microscopy. Today is about sample mounting: we use a cold mounting procedure, i.e. samples are mounted in resin. I have talked about the find documentation process and the cutting of the sample in parts one and two.

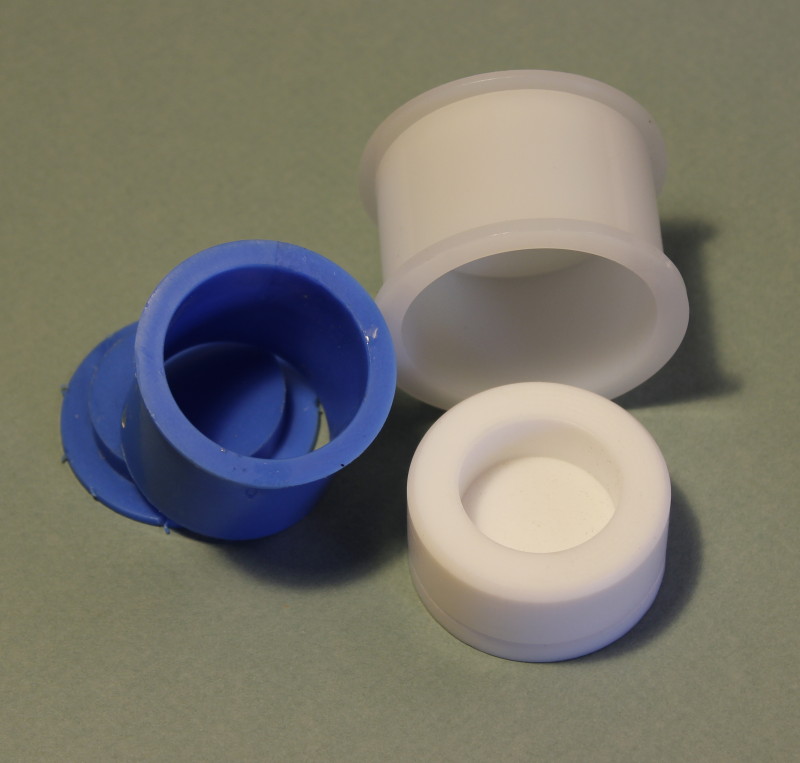
Sample mounting: Three different sizes of sample cups: 20, 32 and 40 mm.
The following things are needed for this:
- cold mounting resin and curing agent
- mixing cup
- sample cups
- ultrasonic bath
- IMS
- optional: exsiccator and vacuum pump
- safety goggles
- lab coat or an apron Continue reading
1 comment | tags: How to | posted in Archaeometallurgy, General, Info, Lab work, Microscopy, slag
Jan
17
2014
Bastian Asmus

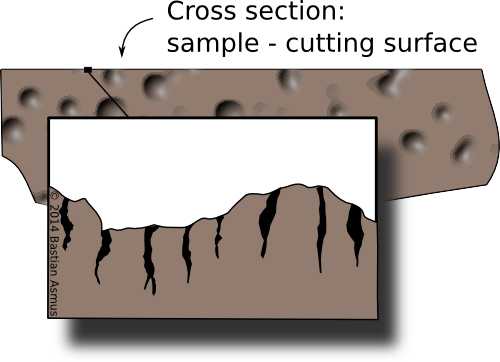
This shows a cross section through a sample. On a micro-scale the cutting surface of a samples is shattered by the cutting process. This areas needs to be removed for samples to be representative of the find.
This is part two of the series on slag microscopy and will deal with sample cutting. Part one was on the macroscopic description and documentation of the sample. Of course these steps may equally employed to mount samples other than slag.
The following things are needed for this:
- a circular diamond blade cutter / tile cutter
- ultrasonic bath
- IMS
- safety goggles
- ear protection
- lab coat or an apron Continue reading
2 comments | tags: How to | posted in Archaeometallurgy, General, Lab work, Microscopy, slag


