how to do slag microscopy – find documentation
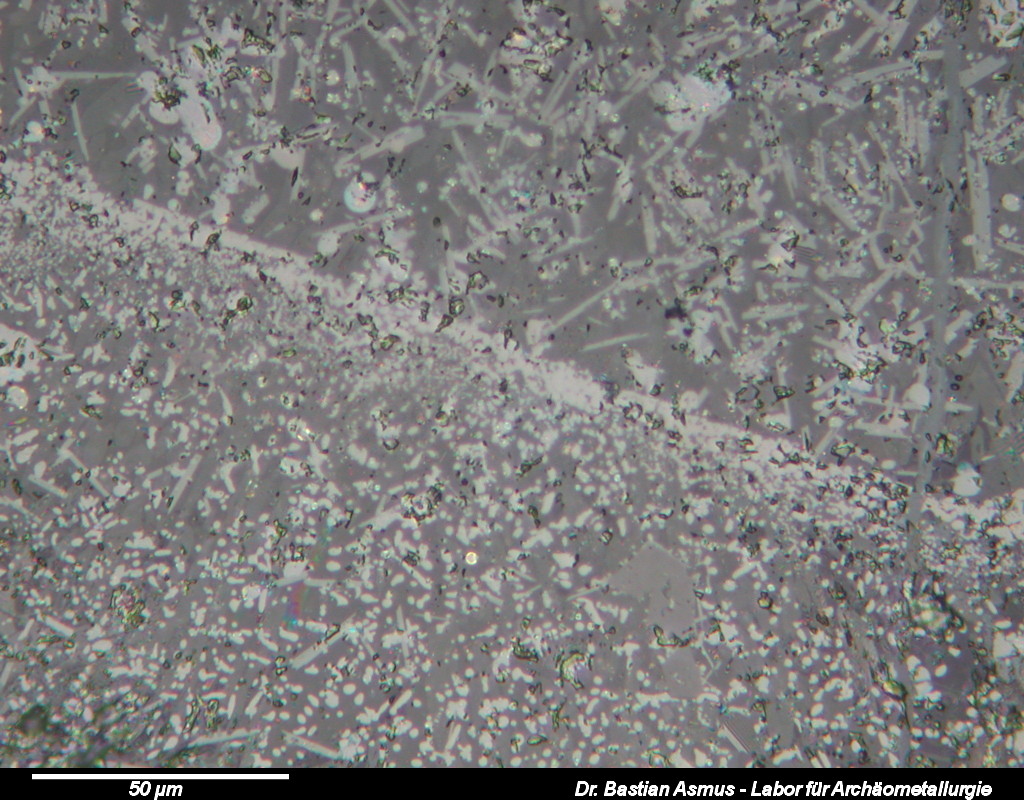
Image 1: The series on slag microscopy you will tell you about how to prepare, describe and interpret polished sections of slag samples. After that you to get hold of a microscope and invest time…
This is the first article of a series on slag microscopy. Excuse me, on what?
Yes you did read correctly: I said slag microscopy. –
This will be a series of articles thought as an introduction to the most noble and useful art of slag microscopy, the equipment needed to do slag microscopy and what slag microscopy is all about. Today’s topic is sample preparation! Slag microscopy is a small but fun part of one the most fascinating disciplines of archaeology: archaeometallurgy (: and it is very useful for us archaeometallurgists, too.
Why? Because slag tells us a lot about the processes and products of which slag is a by-product. In order to be able to tell what slag tells us we need to have a look at it through the microscope. We have to prepare a polished section and will describe the microscopical appearance of the sample under the polarising reflected light microscope.
Document your find prior to sampling
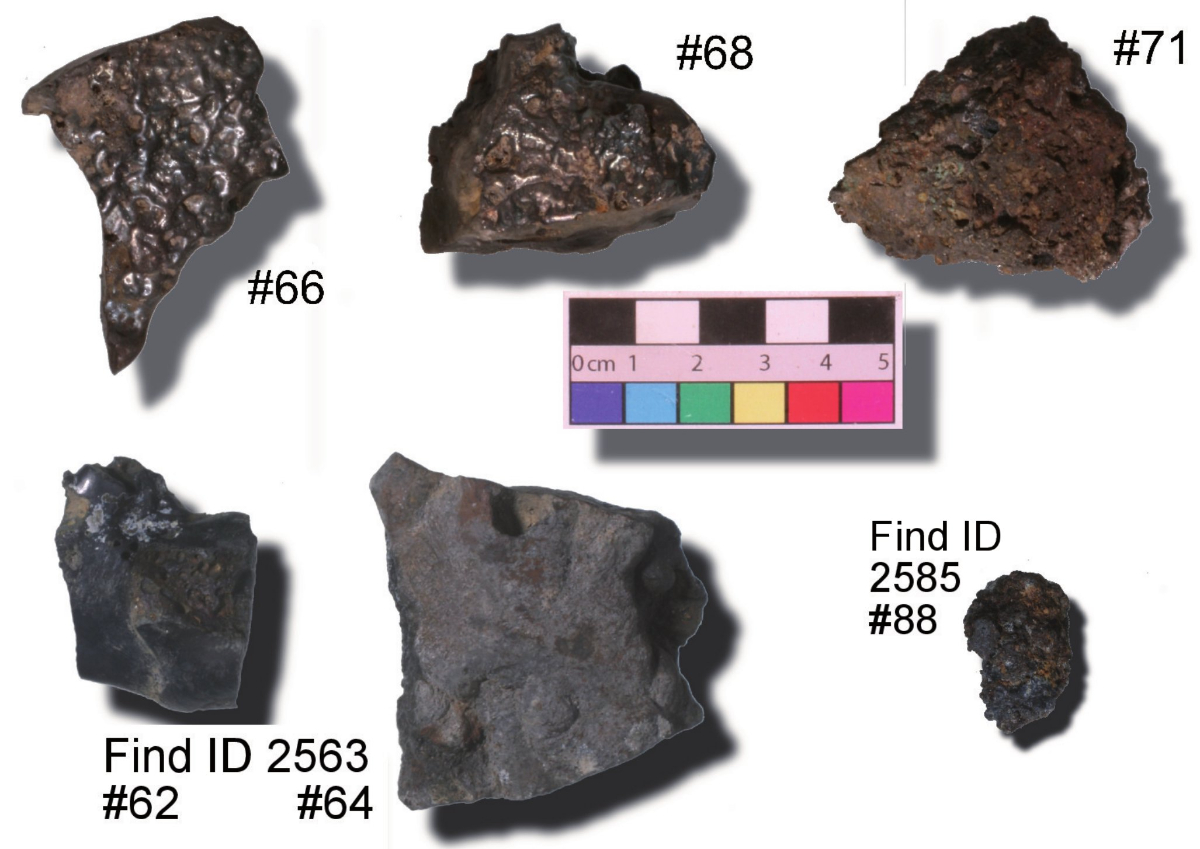
Slag may appear frothy, bloated, compact, corroded or crumbly. This does not tell us a lot about its chemistry, but a lot about the processes in which it has formed. We can also tell as to whether this a viscous or a rather liquid slag, which may offer some hints to its chemistry. It may also tell us if it slag at all…
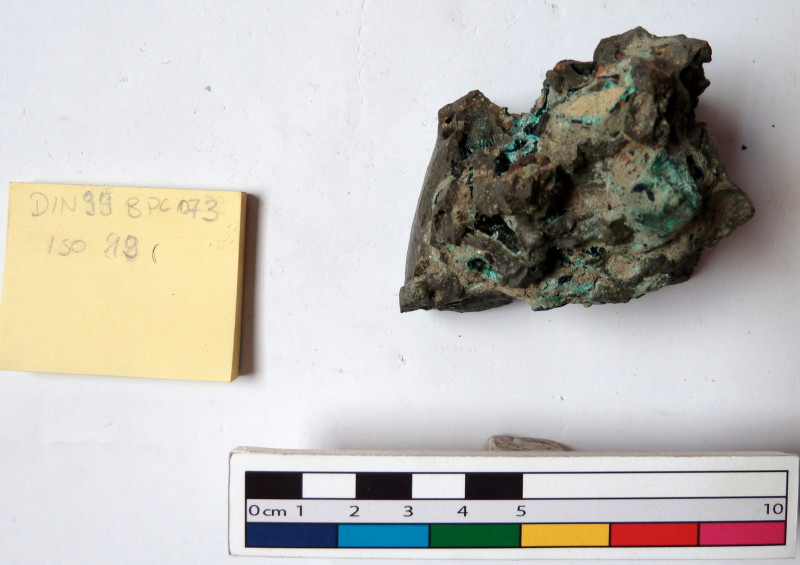
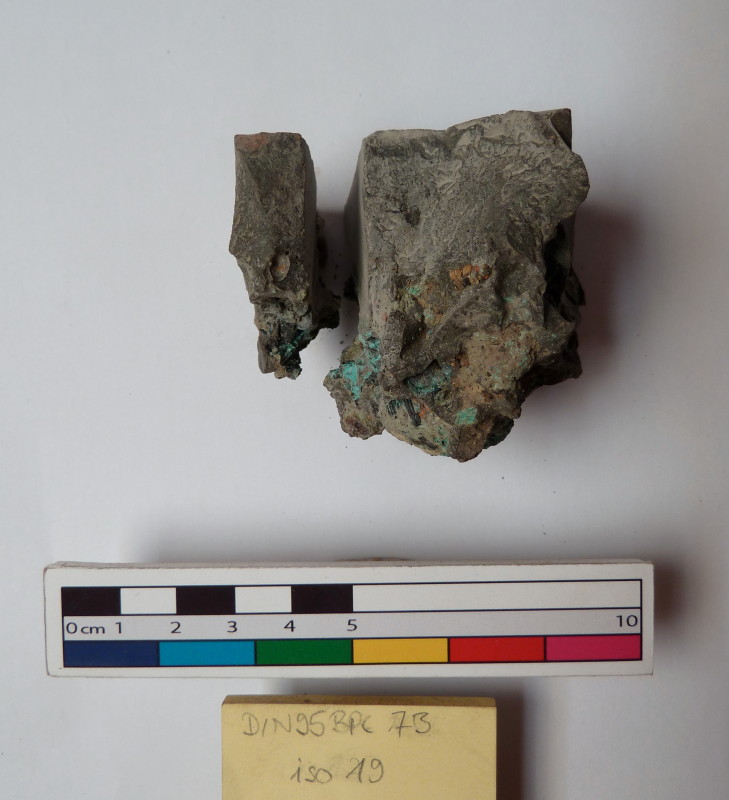
Take a picture of the find before sampling. Add scale and find identification!
So, now you do have your slag finds for sampling, but have absolutely no idea how to start? No problem. Start by looking at the sample and describe it, before you do anything with it.
Use your lab joural to Jot down observations as to the physical appearance of the find, describe its texture, and its colour. You do not have a lab journal yet? Go and get one!
Are there any signs of colourful concretions? Greenish stuff will point towards copper and so on. Check for sings of corrosion, cracks, crevices or fissures. Are there signs of gas bubbles? Are these small, e.g 1mm and smaller; does the material appear frothy, or are there large gas bubbles, i.e more than a centimetre or so?
Is it a solid or compact lump or does consist of several layers? Can you see any flow patterns? Can you work out which side was facing upwards? Sometimes you can find soil impressions on the side facing the ground. These observations can be very valuable, once you are peering down the microscope at your sample, and you have to make sense of microscopic observations: E.g. why are certain slag phases bigger in some areas than in others. I will talk more about this when we get talk about doing microscopy. Use a stereo microscope if you do have access to one and scrutinise the find at low magnification.
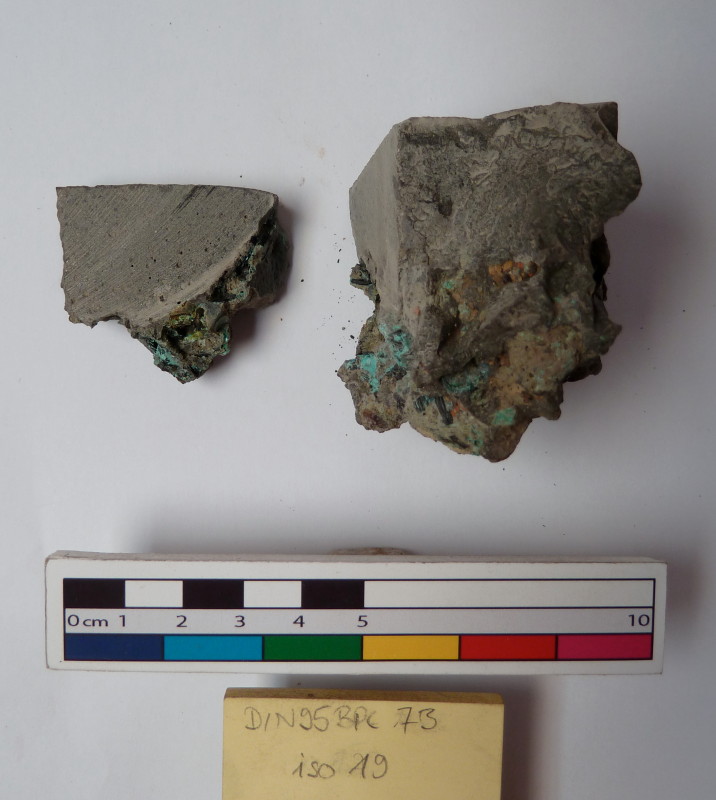
Tipping the sample to the side allows easier identification of the sample, when compared with the polished block later.
Take a picture together with a decent scale bar to document the original state it was in. Do not forget to note the sample/find number and site on the photograph. It is much easier to take a picture with this information on the photograph, rather than to assign just file names with the find informations. Some form of redundancy with information on find provenance will prove very useful in later stages: It may assist in identifying the samples provenance in case things get mixed up during the various stages of sample preparation and analytical processes. Ah, and do not waste time with these images, they do not need to be pretty, they hardly ever make it to a final publication. Take another picture after sampling took place to show where sampling took place.
To recap
- get a lab journal, it will save your life at least once…
- look at the find before sampling
- possibly use a stereo microscope to scrutinise the find at low magnification
- describe macroscopic appearance of the sample and note this in your lab journal, e.g.
- weight
- dimensions
- texture
- homogeneity/heterogeneity
- colour
- check for corrosion
- take a picture with scale and find identification
- decide where to take the sample
That’s it for today. I will be back soon to talk about the cutting of the sample, the mounting of the sample and the polishing of the section. If you find these notes useful, I am always happy to hear about it and open for any comments and criticism.


February 21st, 2014 at 21:50
[…] far, you have now reached part seven part of the slag microscopy course. After sample prep, with find documentation, cutting, mounting, grinding, lapping and polishing we are now going to have a look at the tool to […]