Micrograph collection – how to manage it
This article is about managing your micrograph collection without the need of a dedicated data base structure. You can keep your filing structure and will not be dependent on a proprietary management system. The article is centred around embedding meta information within the digital image. Micrograph, microscopical observations and related notes are always kept together. Because of the standardised way meta data is stored in digital image files, it may be easily exported.

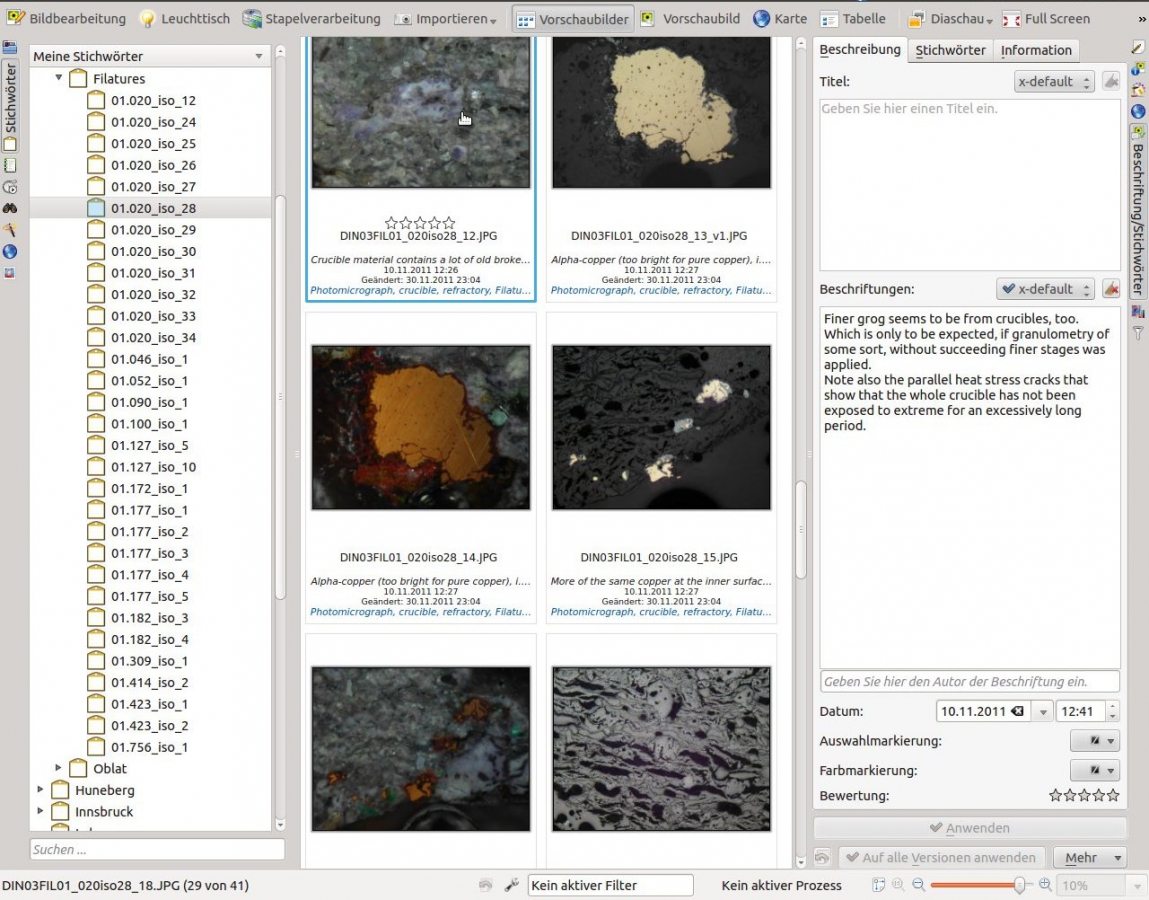
Ddigikam enables you to save your microscopical observation notes directly into the meatadata of your micrographs.
Taking digital micrographs is at the heart of my profession, so naturally I have been looking for a solution to manage my micrograph collection for some time. This article on digital asset management provides a comprehensive overview. It raises important issues to consider when setting up your comparative micrograph collection. For this post I am focussing on these two aspects:
- Keep up with technology, don’t lag behind more than a couple of years.
- Save your photos in an open, non-proprietary standard.
Over the years I used several several approaches:
- manually written records and digital images on my hard drive
- custom written database
- records in excel files
- MediaWiki
- Apple’s digital photo software
- Imagemagick’s comment functionality

In the old days I used a notebook to jot down my observations. Later I transferred the information to my computer to go alongside with my micrographs.
But none of them made me really happy. Either I had no control where the software would save the images on my hard drive (iPhoto, MediaWiki):
- none of them allowed me to edit metadata in a fashion, that metadata could be accessed from different operating systems
- the micrographs and observations thereof where kept in different places (Calc/Excel Spreadsheet files and digtial images)
- you had to keep up with the development of your custom written database structure
- you did not even have all information in a digital format (hand written records, digital images)
- the meta data could only be accessed by a limited number of applications (imagemagick’s comment function)
For one I was looking for an easier solution less dependent on commercial photo management software. I do not trust these to be around in 30 years time, whereas my micrographs will. For another I did not want to spend endless hours on the development and maintenance of a customised database structure. I mean to focus my energies on my work instead.
How do other disciplines manage images and image related information?
Geographical information is stored in GIS software solutions, medical imaging solutions use a file format of their own: DICOM, but there is nothing that met my requirements for managing a digital micrograph collection. As it turns out there is no need for it!
Exif, IPTC and XMP
There are a number of meta data standards around, mainly Exif, IPTC and XMP. It is not clear as yet which of these standards will become the most widely used one in the future. Until then we just use them all. The use of the free exiftool by Phil Harvey enbales us to read and modify meta data of any given digital file. This command
exiftool Imagefile.JPG
lists all the available metadata in the shell.
For example the -csv (=CSV file output) is used to export all metadata to a comma separated value file, which can be imported from almost any other application.
exiftool -csv Imagefile.JPG > metadata.csv
This reads all metadata and returns it as csv file. This does also work with directories:
exiftool -csv path/to/image_folder > metadata.csv
If oyu like to add the section width to your micrographs you can use the following command:
exiftool -keywords+="620 µm" Imagefilfe.jpg
or, if you like to annotate a folder of micrographs with the same section width of 620 µm:
exiftool -keywords+="620 µm" path/to/image_folder
The The exiftool application documentation is excellent, consult is if you need to delve deeper into exiftool’s capabilities. Whereas exiftool is the choice for scripts and automated tasks, such as with the scale bar script, its command line interface is less comfortable to add a lot of individual metadata to your micrographs, such as for example microscopic descriptions.
Keywords for your micrograph collection
If you are looking for a capable metadata editor you will find, that digiKam is a very good choice. I certainly felt that way and currently use it to add all micrographic observations to my micrographs:
- it is open source
- allows you to use your existing filing structure
- has first class metadata editing capabilities
- lots of other good features
- is availbale for Linux, Windows, OS X
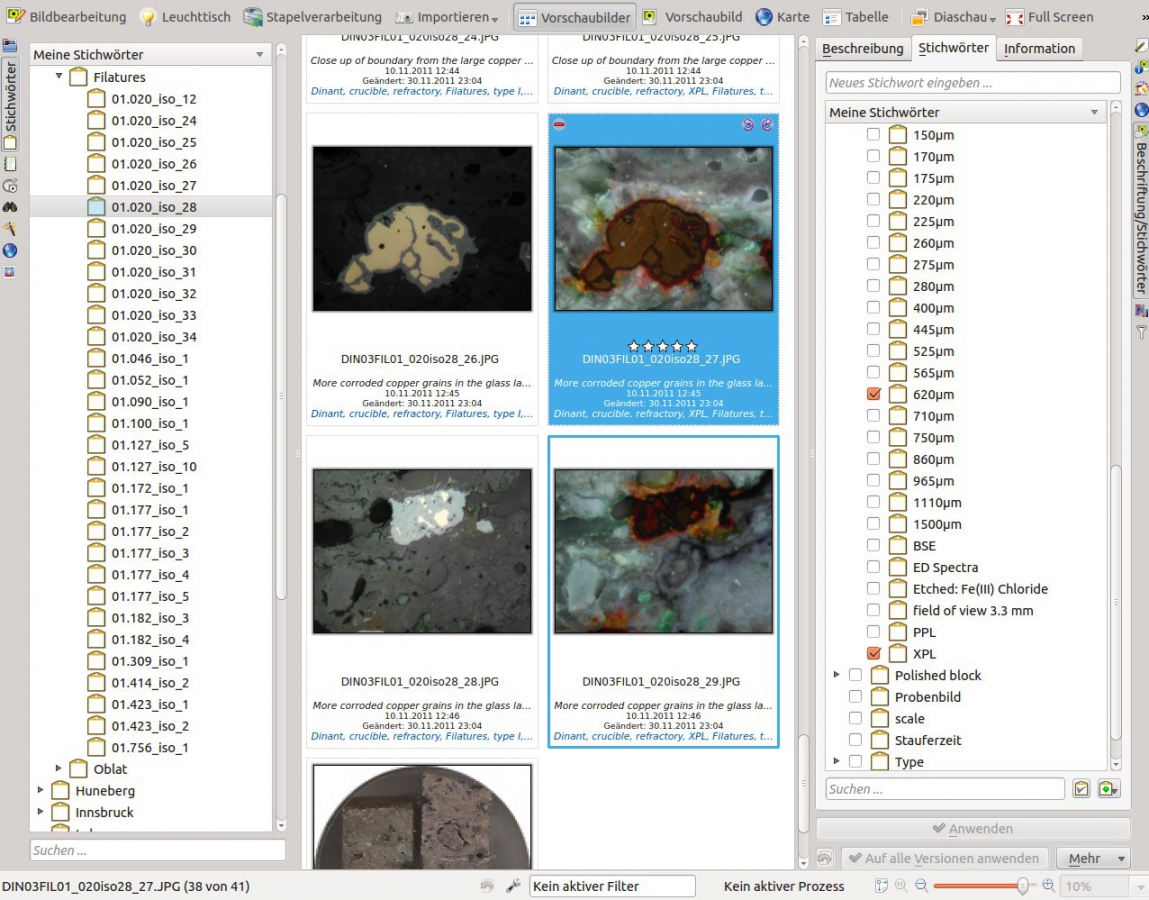
For the scalebar script to work properly we have to add the section length to the metadata. I use the keywords to add this information to the micrographs metadata.

Add repetitive information in form of keywords to your micrographs, such as for example the section width, the contrast method, or the site the artefact originates from.
No solution is perfect
Keep in mind that no solution is perfect. Make sure to stay alert when managing valuable information alongside your images. Elle Stone has written a good article that describes to great detail the possibilities of digikam, and also describes a few pitfalls and how to avoid these.


