Annotating micrographs with a scale bar
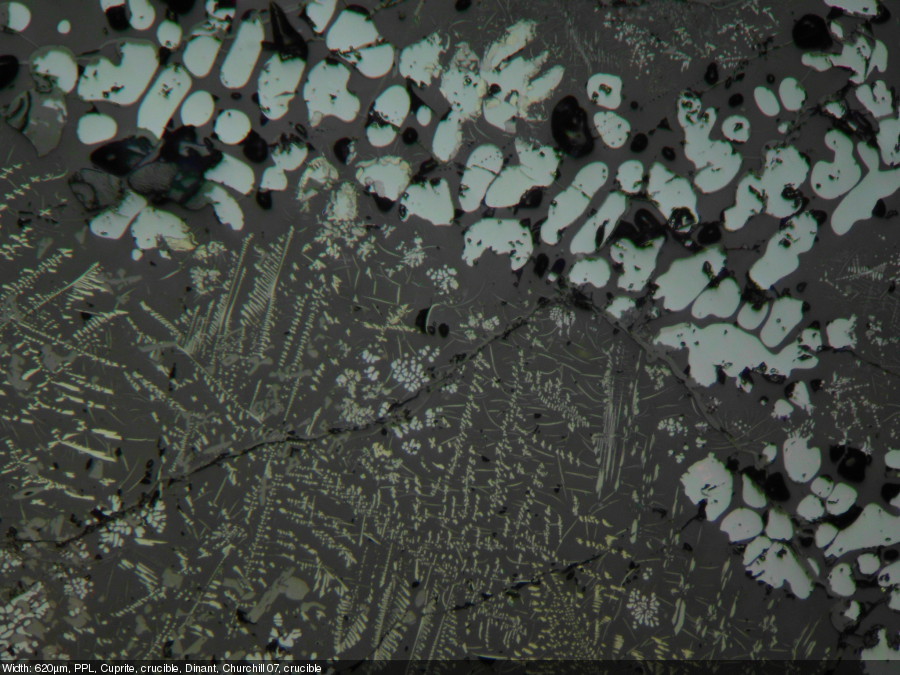
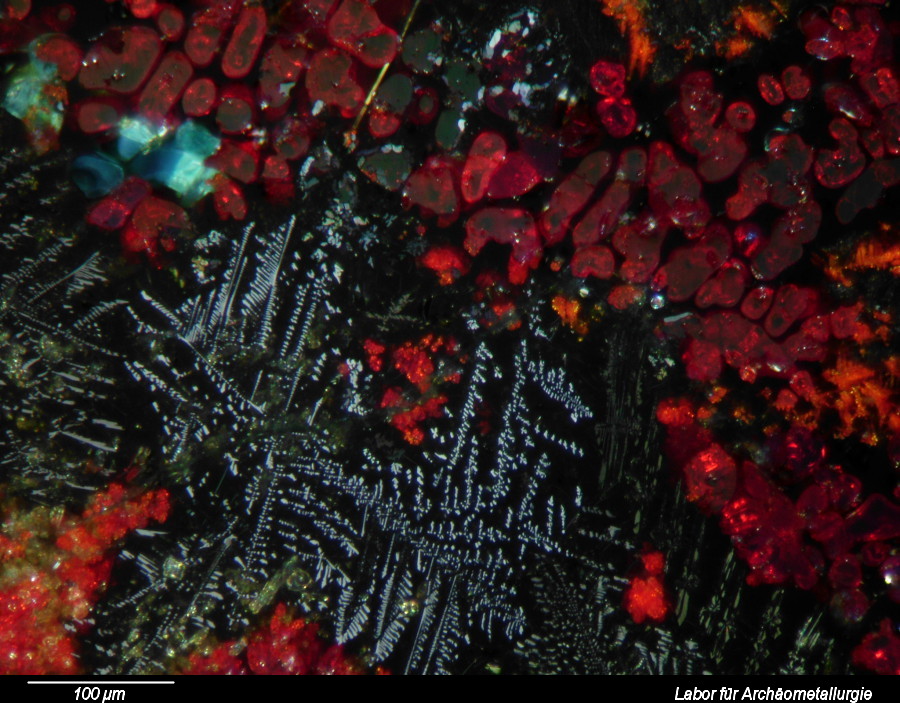
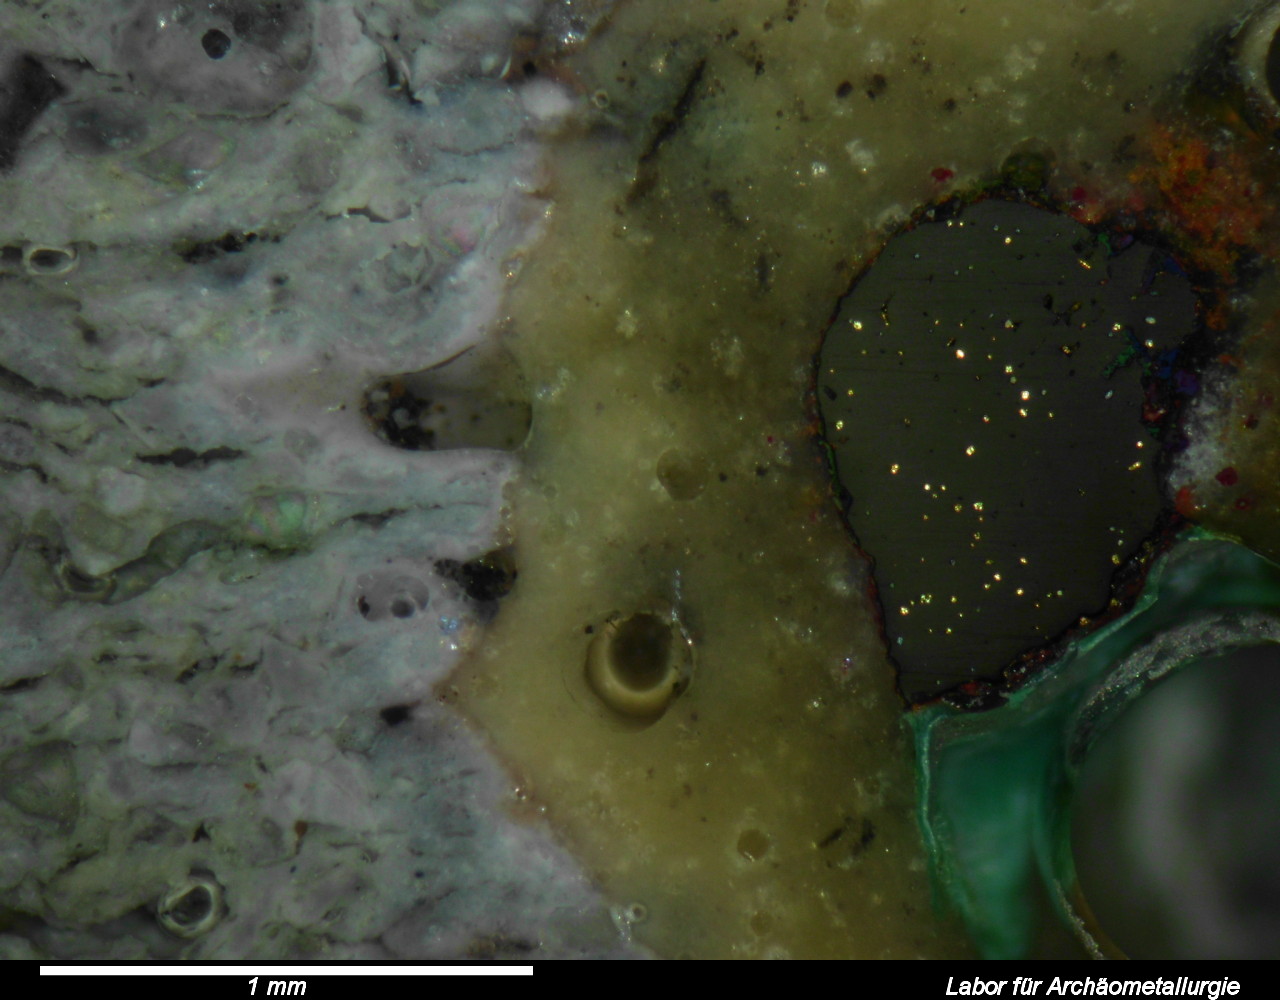
This post describes three of the many possible ways of annotating micrographs with a scale bar: manually, semi-manually and fully automated. Any meaningful micrograph needs a scale as a means of informing us about the size of the documented microscopic structutres. There are two ways possible: Either use the caption to tell us the image width, or annotate the image with a scale bar. The left image (click!) informs us about the image in an unobtrusive bar at the bottom of the image, the right image shows the solution with the scale bar.
1. Annotating micrographs manually
2. Making scale bars – Using Scientific Image manipulation software ImageJ
3. Annotating micrographs using meta tags and a simple shell script
1. Annotating micrographs manually
Is is any good to note the magnification in your records? The answer is no, because the magnification relates to the image you see through your ocular lenses.
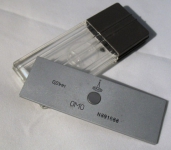
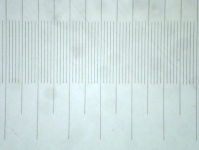
- Take a micrograph of a stage micrometer for every objective lens you intend to use. You need to do this only once.
- Calculate the pixel aspect ratio: image width in pixels divided section width in micrometers (µm). This ratio may be used to calculate the lenght of the scale bar. Exmaple: the image below is 3245 pixels wide and it shows a section of the stage micrometers that is 650 µm wide: 3245 pixels / 620 µm = 4,99 pixels/µm
- Calculate the length of the scale bar in pixel. Let us say the scale bar should show us a lenght of 200 µm, then we need to draw a line of 200 µm * 4.99 pixels/µm = 998 pixel.
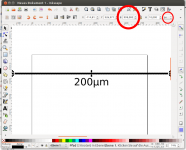
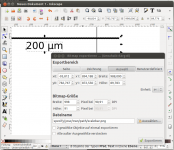
- Draw the scale bar. You can use any graphic software for this. I used Inkscape. Draw a line with the Bézier tool and add some text. Use the align menu to justify text and line.
- Export scale bar as png graphic. Select all (Ctrl + A), hit the export button, select Selection button, make sure Bitmap size is set to the correct pixel size, in our case to 998 pixels
- In GIMP open micrograph import scale bar and place it
Of course you may also draw a proper scale bar in Inkscape and scale to the dimensions you require. If you do one or two mircographs this approach is fine, but if you have to annoate tens or hundreds of micrographs with scale bars, this becomes rather tedious.
2. Making scale bars – Using Scientific Image manipulation software ImageJ
You may use the programme ImageJ to speed up things quite a bit, but it still rerquires a manual work.
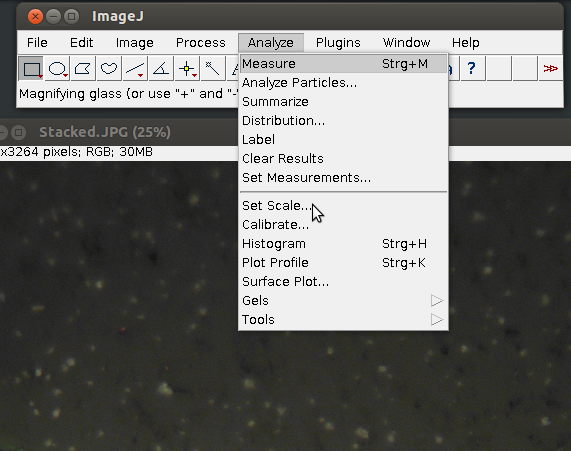
1. Choose [set scale] form the [Analyze] menu
2. Enter details, such as the known image width in µm and in pixel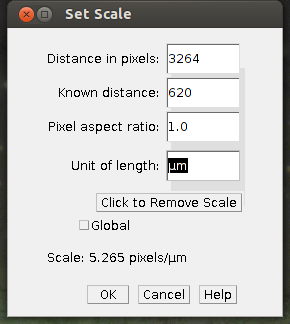
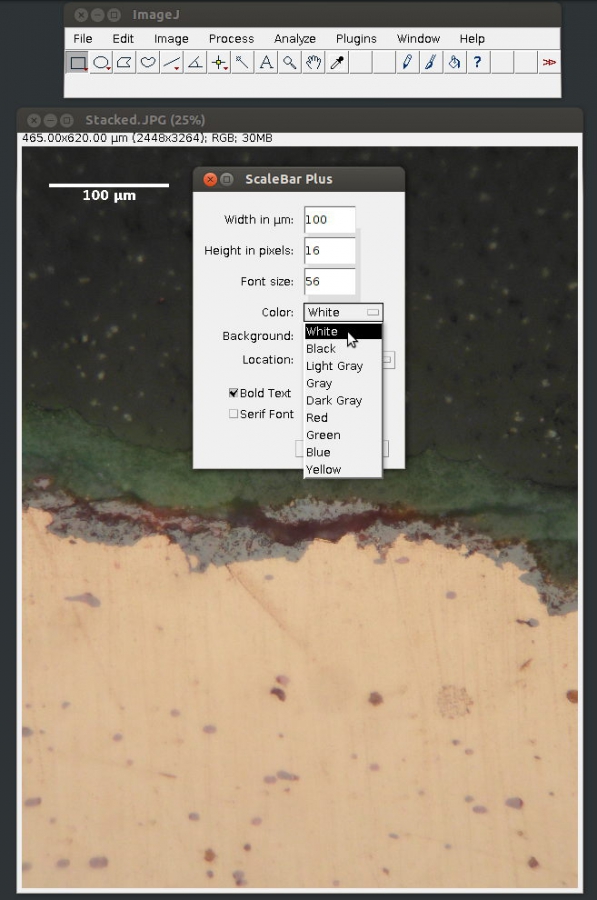
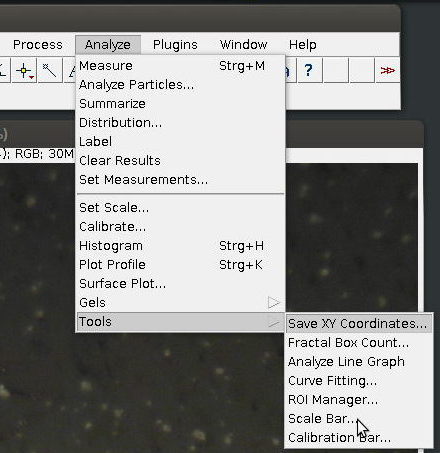
3. Select [Scale Bar…] from [Tools] submenu in the [Analyze] menu
4. Specify length, colour and placement of the scale bar
3. Annotating micrographs using meta tags and a simple shell script
Thanks to the help with regular expressions of Johannes Kutterer from archaeomatics.de I finally sat down and wrote a shell script that does the annotating by itself. The script is based on the idea to store all relevant information within the image itself. To this end I use meta data that can be embedded into the digital image.
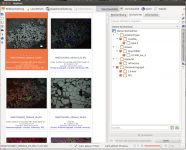
DigiKam offers a large range of professional solutions, is under constant development and is an excellent editor for meta data.
All that is required for the script to work is that the width of the field of view of the image is stored within the meta data keywords. I am using EXIF, XMP and IPTC meta data formats, which can easily be added, edited and deleted with digiKam.
#!/bin/bash
# Bastian Asmus 2013, V 0.1
# This simple script reads the meta information of a a file, specifically the EXIF keywords, and extracts the section length-
# the section length is used to calculate the scalebar
# the scalebar is put into a small strip at the bottom of the image
#the new image is saved in a new folder called "annotated"

# Use a simple shell loop, to process each of the images.
# The first line creates a folder called annotated within the selected directory
#The for loop repeats the step until
# f is the variable for the file name

# whiptail is used for a simple menu structure

if (whiptail --title "Scale bars for micrographs" --backtitle "Press Esc to end script"  --yesno --yes-button yes --no-button no "Would you like to use the default scale bar colour scheme?"  10 40 )
then
ext='JPG'
colour='white'
bgcolour='black'
inform="Dr. Bastian Asmus"
echo "Your selection: white scale bar on black background"
  else
INIT=JPG
ext=$(whiptail --inputbox "Specify the file extension (jpg, jpeg, png, tif,..)" --backtitle "Press Esc to end script" 8 78 $INIT --title "File extension" 3>&1 1>&2 2>&3)

exitstatus=$?
if [ $exitstatus = 0 ]; then
    echo "You selected "$ext" as file extension."
else
    echo "You stopped the script."
exit
fi
INIT=white
colour=$(whiptail --inputbox "Specify the scale bar colour. You may also use hex colour codes" --backtitle "Press Esc to end script" 8 78 $INIT --title "Colour" 3>&1 1>&2 2>&3)

exitstatus=$?
if [ $exitstatus = 0 ]; then
    echo "You selected "$colour" as scale bar."
else
    echo "You stopped the script."
exit
fi
INIT=black
bgcolour=$(whiptail --inputbox "Specify the background colour. You may also use hex colour codes" --backtitle "Press Esc to end script" 8 78 $INIT --title "Background colour" 3>&1 1>&2 2>&3)

exitstatus=$?
if [ $exitstatus = 0 ]; then
    echo "You selected "$bgcolour" as background colour."
else
    echo "You stopped the script."
exit
fi
INIT="Dr. B. Asmus"
inform=$(whiptail --inputbox "Here you may additional infromation" --backtitle "Press Esc to end script" 8 78 $INIT --title "Additional information" 3>&1 1>&2 2>&3)

exitstatus=$?
if [ $exitstatus = 0 ]; then
    echo "You added "$inform" as additional information to the strip at the bottom."
else
    echo "You stopped the script."
exit
fi
fi
#end of menu

if [ ! -d "annotated" ]; then        #check if the folder does exist
   mkdir annotated
fi

for f in *.$ext
do
section=`exiftool -keywords ${f}|sed "s/.*[[:blank:]]([0-9]+[.]?[0-9]+)[[:blank:]]?[µ]?[m].*/1/" `
# use bc to calculate floats..

if ((`echo $section > 70 | bc` & `echo $section < 149 | bc`))
then
legende=25
unit='µm'
elif ((`echo $section  > 150 | bc` & `echo $section  < 499 | bc`))
then
legende=50
unit='µm'
elif ((`echo $section  >= 500 | bc` & `echo $section  < 999 | bc`))
then
legende=100
unit='µm'
elif ((`echo $section  >= 1000 | bc` & `echo $section  < 2000 | bc`))
then
legende=200
unit='µm'
elif ((`echo $section  > 0.8 | bc` & `echo $section  < 2.0 | bc`))
then
legende=`echo 0.2 | bc`
unit='mm'
elif ((`echo $section  >= 2.0 | bc` & `echo $section  < 4.0 | bc`))
then
legende=1
unit='mm'
elif ((`echo $section  >= 4.0 | bc` & `echo $section  < 6.0 | bc`))
then
legende=2
unit='mm'
fi
echo $section
width=`identify -format %w ${f}`    # %w is the width in pixels
height=`identify -format %h ${f}`     # %h is the height in pixels
bh=$(( ($height/24)))            # bh is the boxheight

# always use the longest side of the
# micrograph for the calculation of the scalebar!

if (( $width > $height ))        # landscape
then
scalebar=$((`echo $width*$legende/$section+$bh | bc`))
strokewidth=$((`echo $width*$legende/$section/50 | bc`))
#strokewidth=$(( $width*$legende/$section/50 ))
textpox=$((`echo $width*$legende/$section/2 | bc`))

elif (( $height > $width ))        # portrait
then
scalebar=$((`echo $height*$legende/$section+$bh | bc`))
#strokewidth=$(( $width*$legende/$section/50 ))
strokewidth=$((`echo $width*$legende/$section/50 | bc`))
textpox=$((`echo $height*$legende/$section/2 | bc`))
fi

rh=$(( $height/40 ))            #rh is the pointsize
uy=$(( $height+$bh/4 ))            #uy: upper y position of the box
textpoy=$(( $height-(($bh-$rh)*8/10) ))

echo annotated ${f} and saved a copy to annotated/${f}

convert ${f} -gravity South -background ${bgcolour} -splice 0x${bh} -stroke ${colour}
-strokewidth ${strokewidth} -draw "line ${bh},${uy},${scalebar},${uy}"
-gravity SouthWest -pointsize ${rh} -fill ${colour} -strokewidth 0  -draw "translate   $textpox,0 text 0,0 '${legende} ${unit}'"
-gravity SouthEast -pointsize ${rh} -fill ${colour} -strokewidth 0  -draw "translate   ${bh},0 text 0,0 '${inform} - Labor für Archäometallurgie'" annotated/${f}


done
echo Done!
O.k., what does this script do?
Usage
- the script is bash shell script called from the command line
- navigate into the folder with your micrographs
- the script can be used with default values (white scale bar on black background, files with the extension JPG)
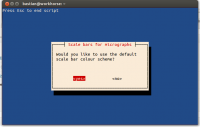
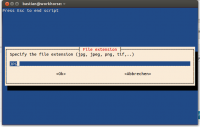
- you may also specify the file extension and the colour of scale bar and background
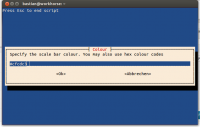
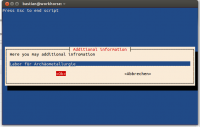
- the script does not alter the original files, instead it creates a folder called ‘annotated’ and places the annotated copies therein
- that’s it
O.k, but what does the script do?
The scale bar annotation script reads meta data from the micrographs and uses that data to annotate the micrograph with a scale bar. Read more on how relevant metadata can be embedded in your micrographs in this post.
The script reqires both Imagemagick and Exiftool to be installed on your system. If you like what you read here you are welcome to leave a comment and let me know.


January 29th, 2014 at 19:03
[…] it can calculate area and pixel value statistics of user-defined selections. It allows the user to apply a scale to an image and can measure distances and angles as well. It is also used to cross check results of various […]
December 4th, 2014 at 19:55
Hello,
Thank you for your post about the bash script for adding a scalebar to micrographs, but… I cannot make it work: I have error messages such as:
“bash_scalebar.sh: ligne 8: $’\r’ : commande introuvable
” (means: “unknown command”)
Do you have any idea of what is wrong?
I use it on a Linux Mint Debian, kernel 3.11-2-amd64
Thanks in advance for your reply, if you have time…
Sebastien from Marseille, France
December 5th, 2014 at 10:35
Dear Sebastien,
it turns out that I introduced a minor error in the script, whilst editing out some typos… Sorry for that. I did correct it in the above code and sent you a corrected version as well. Let us know if it works.
Regards,
Bastian